Auto-context
First, a summary of the auto-context workflow will be exposed. Then, we will see how to activate it in the iota2 configuration file. Finally a tutorial showing inputs and outputs related to it will be presented.
Note
Full explanations about auto-context algorithm’s internal choices can be found in 1, which is the original auto-context implementation. The iota2 version is slightly different for scalability issues. Also, some explanations presented in this documentation are directly extracted from the article previously cited.
About auto-context
In context-dependent areas, there is not sufficient information in the pixel features to confidently infer the class label. These areas are characterized by the presence of contextual dependencies between the target pixel and the pixels in its neighborhood. For instance, industrial areas must have road networks and parking lots connecting them, to allow access for workers and clients. In many cases, beaches and dunes are situated near water bodies. These relations are challenging to model, as they can sometimes represent long-range dependencies. Therefore, they require using an extended spatial support covering a variety of different objects which can be difficult to describe with few features.
Contextual classifications are characterized by their ability of learning the local description of the classes around the pixel of interest.
For instance, consider a classification of the city of Toulouse (France) with the targeted classes : Continuous Urban Fabric, Discontinuous Urban Fabric, non urban classes…
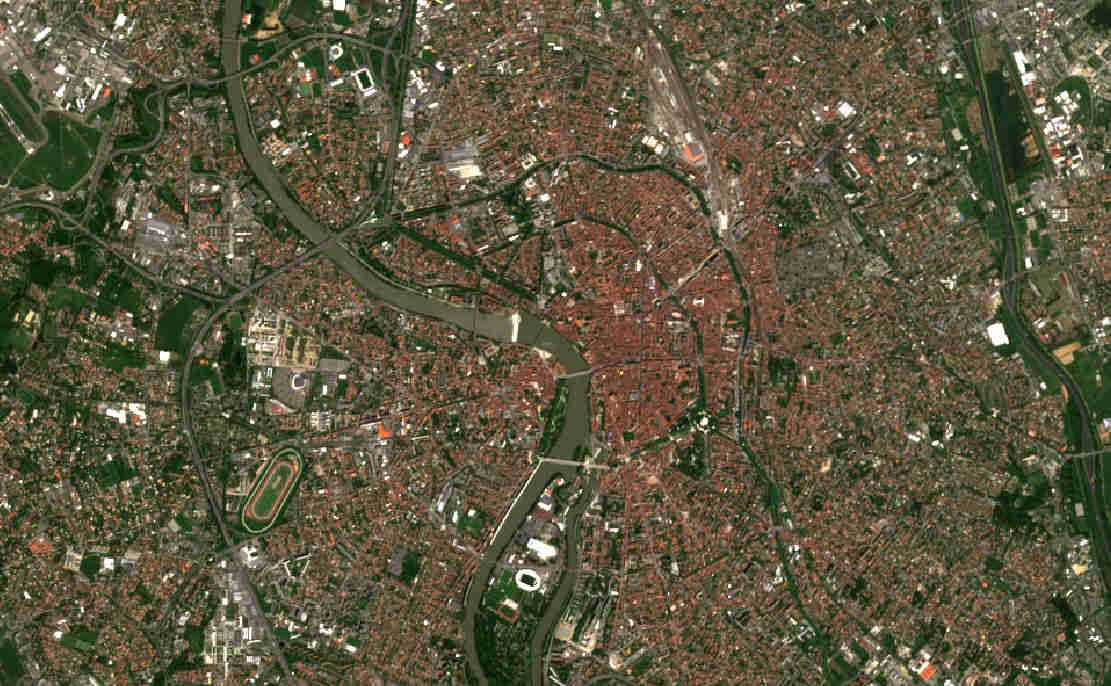
city of Toulouse
We can intuitively infer that, although roofs of CUF are similar to those of DUF, the latter are surrounded by vegetation. The purpose of the auto-context workflow is to transform this visual interpretation into a classification algorithm. To achieve this purpose, a dense classification must be done : helping us to describe the scene around the pixel of interest. Then the notion of “around the pixel” will be developed to finish with the image features used to train a classifier.
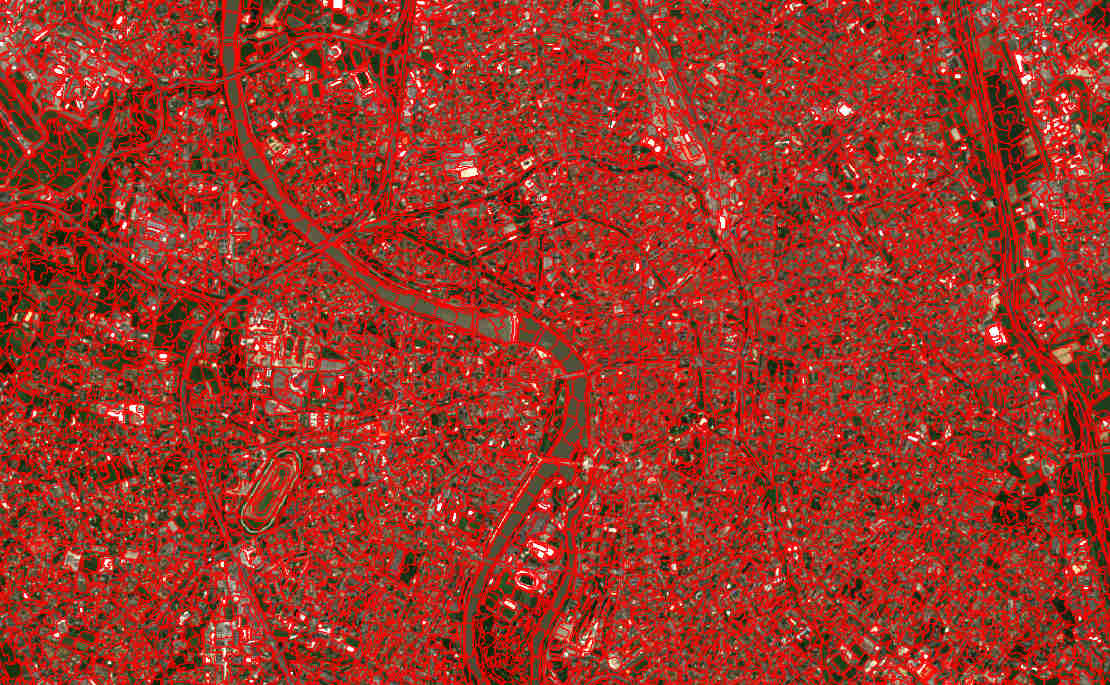
Produce a dense classification
By the use of supervised classification method, a dense classification is generated.
city of Toulouse, classified
Pixel neighborhood
A scene segmentation has to be done in order to generate pixel neighborhoods. Authors 1 highly suggest the use of superpixels. Indeed, the algorithm used to produce the segmentation, known as Simple Linear Iterative Clustering, or SLIC, aims to provide segments that exhibit homogeneous features, but are also similar in size, and have a relatively compact shape.
city of Toulouse, segmented
Auto-context local features
The authors proposal is to use the histogram of classes into the superpixels segments as new features.
superpixel segment and classification |
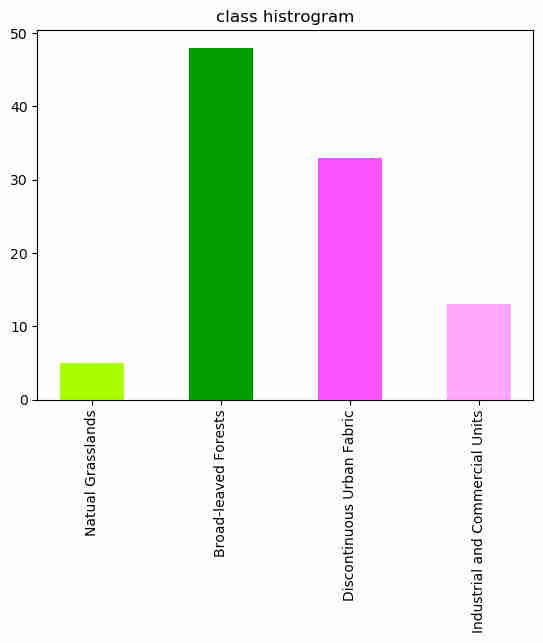
histogram feature |
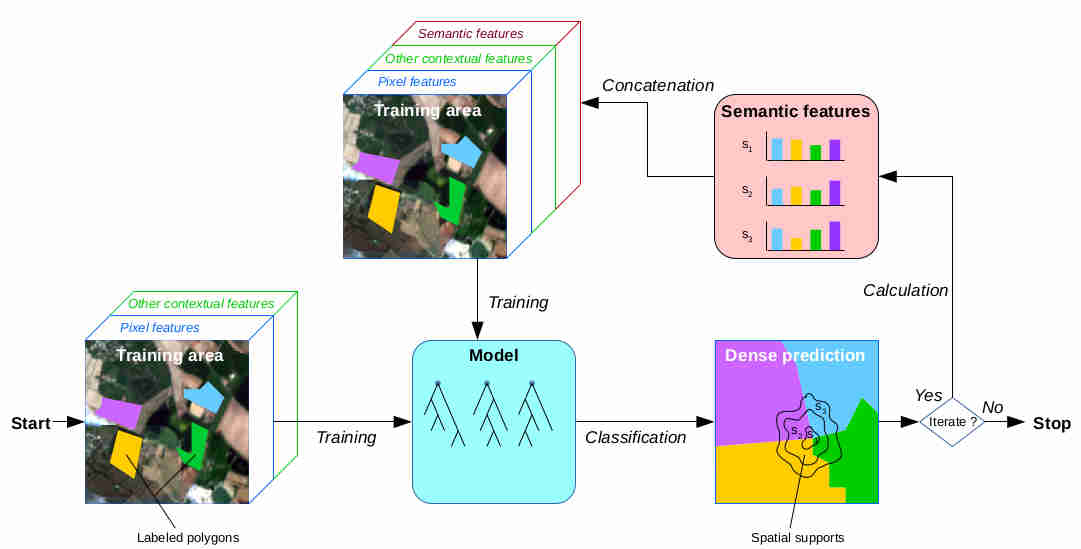
Once every histogram is calculated over the whole segments, a new model can be trained, taking into account these contextual features. These processes can be repeated in order to learn better contextual features. The general workflow algorithm is shown below.
Auto-context general workflow
Note
2 compare standard pixel classification versus auto-context classifications.
How to activate auto-context processing
There are only two parameters involved in auto-context processing:
Parameter Key |
Parameter section |
Parameter Type |
Default value |
Parameter purpose |
|---|---|---|---|---|
enable_autocontext |
arg_train |
Boolean |
False |
enable the auto-context processing |
autocontext_iterations |
arg_train |
Integer |
3 |
number of iterations |
Example :
arg_train:
{
...
enable_autocontext:True
autocontext_iterations:3
...
}
I/Os descriptions
Here is an example of a configuration file cfg
which enables auto-context and works with the downloadable data-set .
SLIC segmentation
Superpixel segmentations can be found under the name SLIC_T.tif where T
is the tile name. These raster files are located into the directory features/T31TCJ/tmp.
Supervised models
Each model resulting from auto-context iterations are located in the directory model.
Internal choices
SLIC segmentation
The spatial width described in 3 and directly related to the segment’s size is set to the input remote sensing data resolution (ie : 10, if Sentinel-2 data are used).
Classifier
Warning
Auto-context iterations involve multiple learning and prediction stages. Consequently,
the only usable classifier is the random forest, for its ability to learn
a model and to predict pixels quickly.